Custom Gaming PC Build for a Dad and Daughter Duo | PCMacgicians Wandsworth

A few weeks ago, we had the pleasure of working with a father from Wandsworth who walked into our shop with his teenage daughter, Teena. She had saved up birthday money, part-time job earnings, and even chipped in from her allowance. She wanted to build her first serious gaming PC. Her father was ready to support her but had one caveat: the budget couldn’t spiral out of control.
Teena wanted something that could handle AAA titles like Cyberpunk 2077 and Elden Ring but also be suitable for light content creation, video editing, and possibly some schoolwork.
Our job? Deliver a reliable, upgradeable custom gaming PC on a mid-tier budget, without compromising on essential performance.
PCMacgicians’ Custom Gaming PC Build Breakdown
CPU: AMD Ryzen 5 5600X
It’s one of the best value-for-performance CPUs on the market today. We considered an Intel Core i7-12700K, but that would’ve pushed the budget. Great for gaming and multitasking, without bottlenecking modern GPUs. Plus, it stays cool and energy-efficient — less stress on the power supply and cooling system.
GPU: NVIDIA GeForce RTX 4060 Ti (8GB)
A sweet spot GPU for 1080p and 1440p gaming. Teena originally wanted the RTX 4070, but we opted for the 4060 Ti to stay within budget. Capable of ray tracing and DLSS 3 support. It runs most modern games on high/ultra settings and offers future-proofing without going overboard.
RAM: 16GB DDR4 (Corsair Vengeance LPX, 3200MHz)
Reliable, fast, and cost-effective. 16GB is the current standard for gaming and light productivity. Easy to upgrade later if Teena gets into heavy video editing.
Cooling: Cooler Master Hyper 212 Black Edition
Budget-friendly and iconic in the PC building community. Solid thermal performance for the Ryzen 5 5600X without the noise or cost of an AIO liquid cooler.
Motherboard: MSI B550 Tomahawk Max WiFi
Durable, with great VRM quality and built-in WiFi. It supports future Ryzen CPUs, offers M.2 support, and makes future upgrades easy. This is important for a teen who might grow into content creation or streaming.
Storage: Kingston NV2 1TB NVMe SSD
Fast, reliable, and cost-effective PCIe Gen 4 storage. Plenty of space for games and software. A secondary HDD can be added later if needed.
PSU: Corsair CX650M (650W, 80+ Bronze, Semi-Modular)
Reputable brand and semi-modular design for clean cable management. It leaves room for future upgrades (like a higher-end GPU) and ensures power efficiency and reliability.
Case: NZXT H510 Mid Tower
Sleek design, solid airflow, and easy to work with. Teena was very particular about aesthetics — and we couldn’t argue. It’s modern, minimal, and showcases the components beautifully.
Peripherals:
Monitor: AOC 24G2 24” 144Hz – Great refresh rate for FPS games.
Keyboard & Mouse: Logitech G213 + G203 combo – Budget-friendly and responsive.
Headset: HyperX Cloud II – Clear mic and strong sound quality, ideal for both gaming and school Zoom calls.
Call us now for a free consultation!
PC Macgicians 207-6100-500
Why We Chose This Setup
This gaming build PC wasn’t about maxing out every component. It was about balance:
Performance per pound: Each part was chosen with future-proofing, performance, and budget in mind.
Upgrade Path: The system has enough headroom for future CPU, RAM, and GPU upgrades.
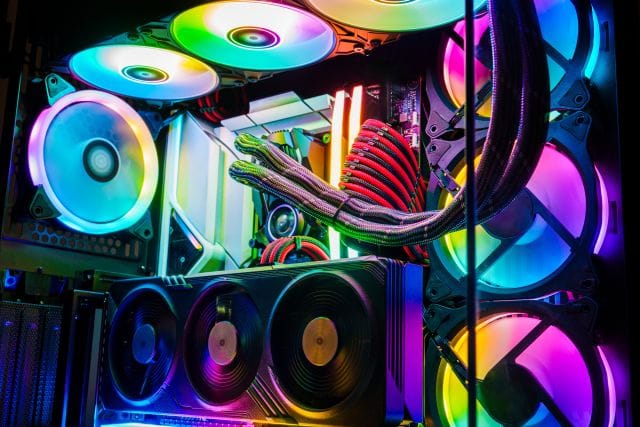
Aesthetics: Teena wanted a clean, professional look. RGB was kept minimal but tasteful.
Budget control: We had a £1,300 target including peripherals, and we hit it.
Troubleshooting the Inevitable: A Real-World Hiccup
As with many PC builds, things didn’t go completely smoothly. When we powered the system on for the first time, the screen remained black. No POST, no BIOS beep, nothing.
Here’s how we fixed it:
Step 1: Reseat Components
Removed and reinstalled the RAM, GPU, and power cables. A slightly loose RAM stick can prevent posting.
Step 2: Check Motherboard Power Connections
Verified both 24-pin and 8-pin CPU power were fully inserted.
Step 3: Clear CMOS
Used the jumper on the motherboard to reset BIOS settings.
Sometimes the board needs a hard reset before first POST.
Step 4: Try Boot Without GPU
Used the motherboard’s onboard HDMI and removed the GPU. Still no display, which confirmed it wasn’t a GPU issue.
Step 5: Breadboarding
As a last resort, we took the motherboard out of the case to rule out grounding issues.
Finally, It booted! The issue was a rogue brass standoff shorting the board.
Always double-check standoff placements in the case, especially when using third-party cases with non-standard layouts.
Thinking of Building Your Own Gaming PC?
Whether you’re a first-time builder or looking for a top-tier rig, our PC building service is tailored to your needs. We’ll guide you through every component choice and help troubleshoot any issues along the way.
Get in touch with PcMacgicians today — let’s build your dream machine together.

